
So, as we geared up for the NEC show, one major job left to do was to rebuild the engine. The 1500 currently powering Gem was a £35 eBay win that I picked up from Brighton on a whim one afternoon. I’d honed the bores on my driveway and stuck in new rings, which had done a pretty good job at giving me a serviceable engine to see out summer.
I knew I wanted to work on the head, as a little oil was getting in through the valve stems. So clearly a complete rebuild was immediately on the cards. I pulled the block one October afternoon with my sister, and we promptly ignored it for three months whilst we got on with the bodywork.
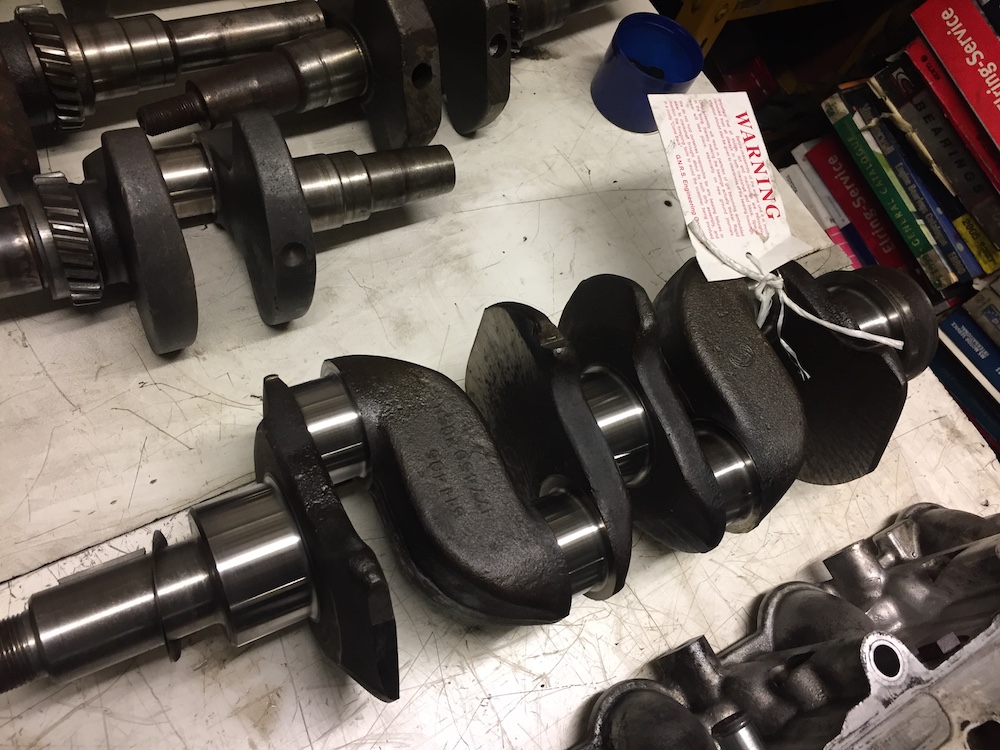
With the Brighton engine on +.040″ shells, I turned my attention to the crank which was damaged in the M1 Oil Disaster of May 2017, which was STD. A 0.010″ grind on both the big ends and mains saw the crank serviceable again, and I sourced some uprated bearings from Moto-Build Racing.
GNRS Engineering in Coventry was the chosen machine shop, and I have to say Sammi was excellent. A Kenyan-born old-school engineer, very friendly and knowledgeable. I also had the head skimmed, and new valve guides and exhaust seats after I’d lightly ported and polished it. 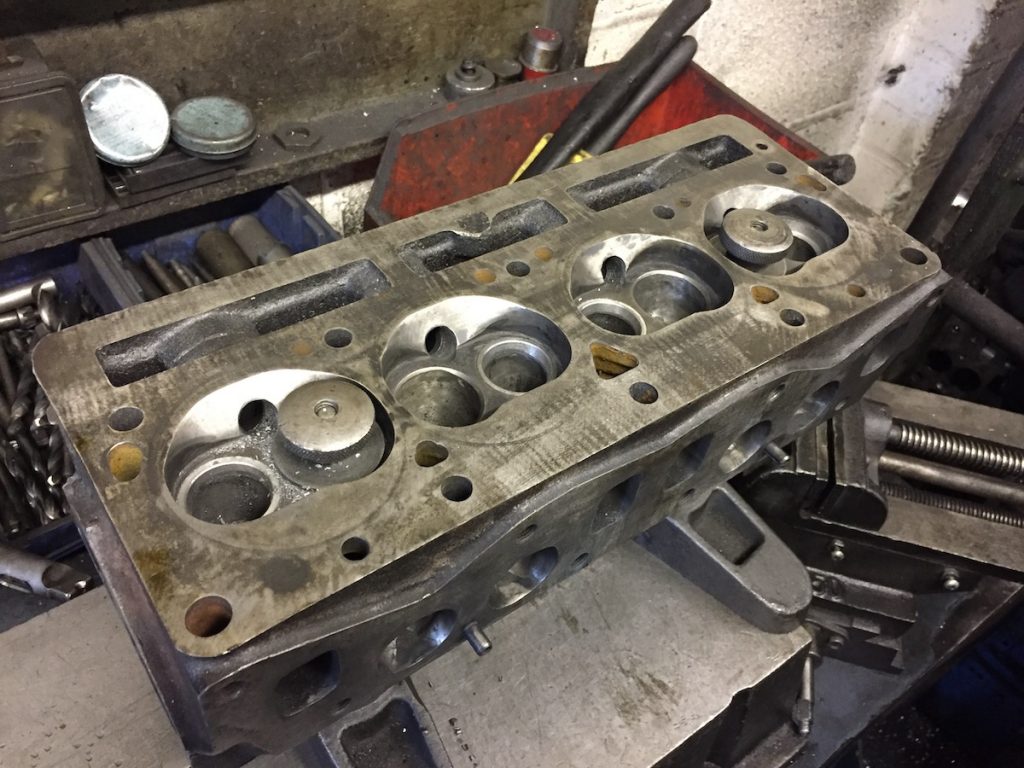
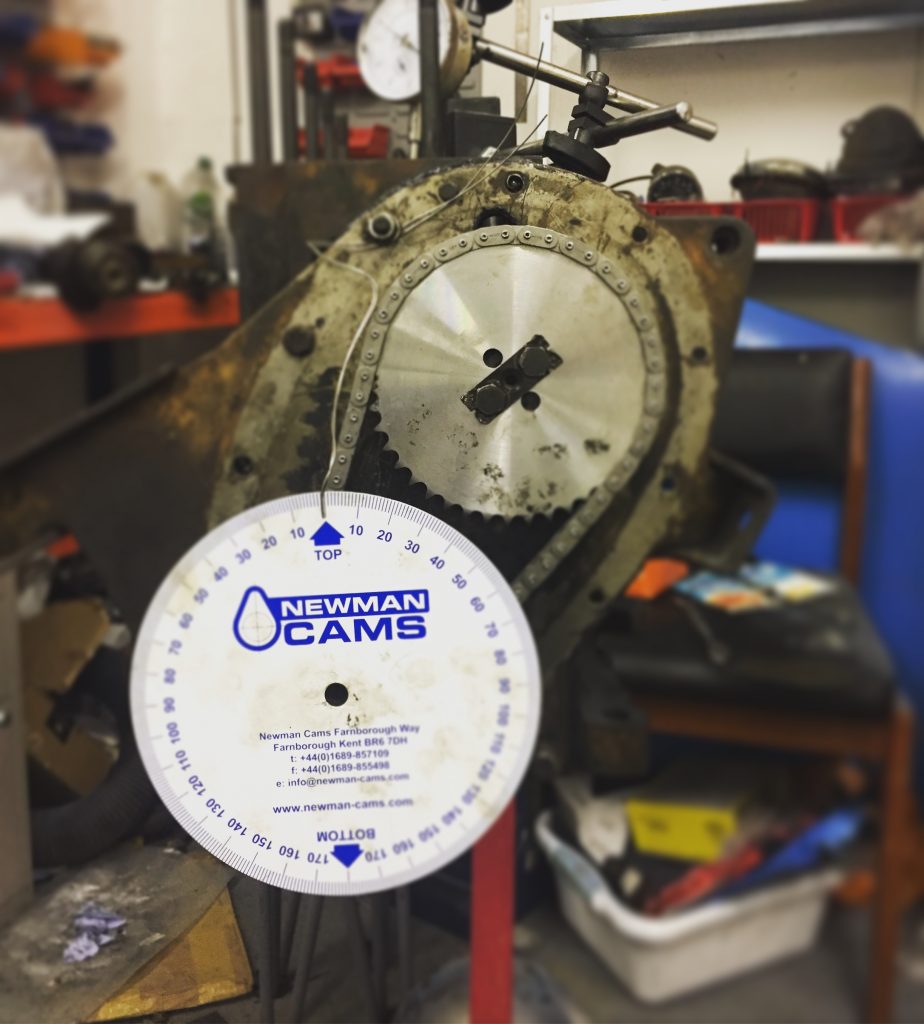
Next was on to the block. I still could see the honing marks from last summer, having completed only around 700 miles. So I decided to leave that well alone and turn my attention elsewhere. I purchased a new camshaft from Canley Classics, a Spitfire 1300 grind onto a blank 1500 camshaft (the difference is that the 1500 cam runs directly in the block without bearings. From Canley’s own literature, the 1300 profile “gives a mild increase in power and torque and is perfectly suited to all road going large-crank engines. You really do get the best of both worlds – better ‘driveability’ with no real loss in fuel consumption.” This was installed with all new gears, timing chain and followers.
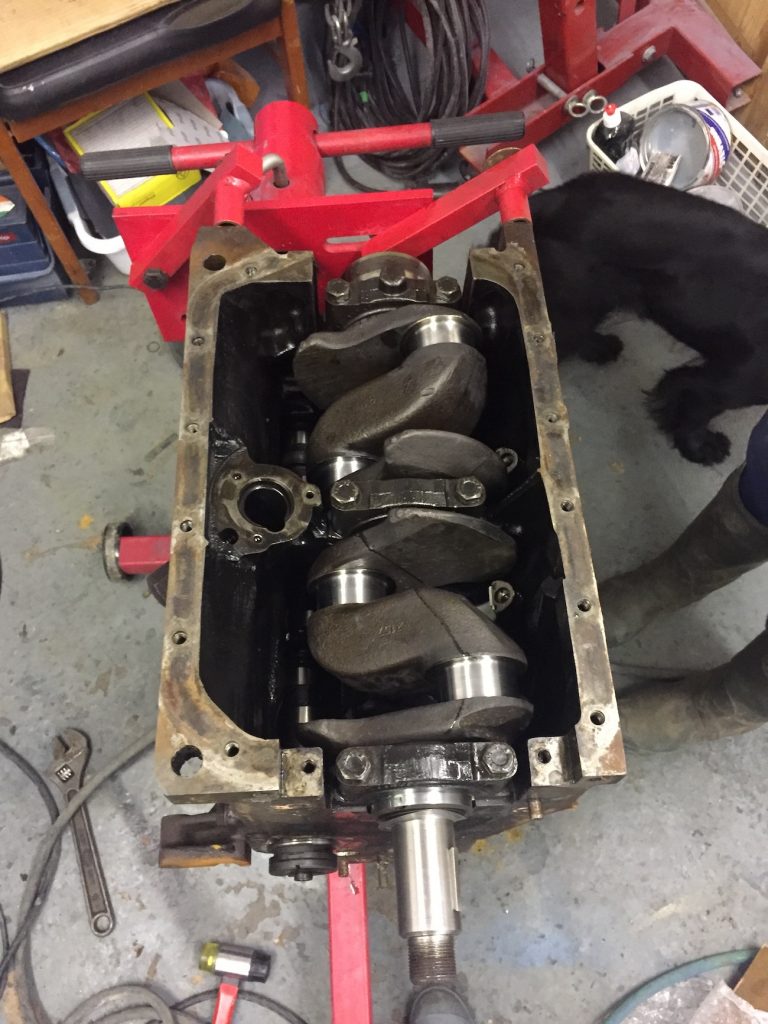
After a lot of reading, head scratching, tea breaks and arguing, we finally worked out how to time the cam and get it installed properly. It’s actually simple once you know how! With the bottom end back together, a lick of paint was applied before attaching the sump, freshly power-coated backplate and uprated Powertune clutch. Sadly, I’d forgotten the oil pump! This was fitted later once the engine was in. 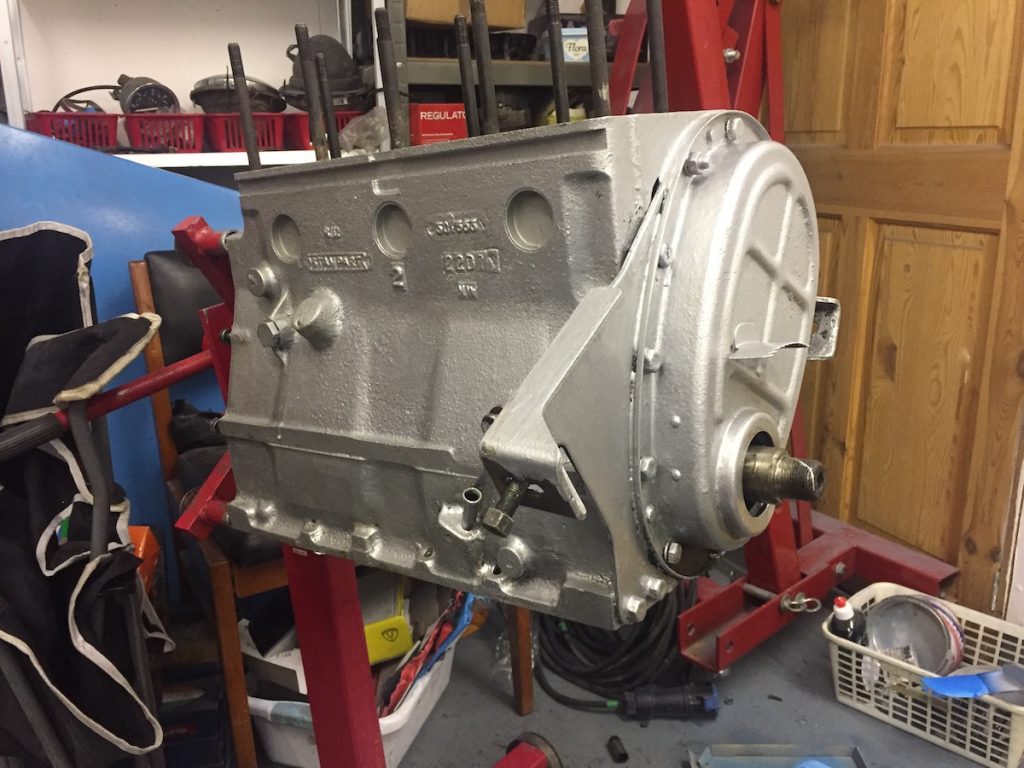
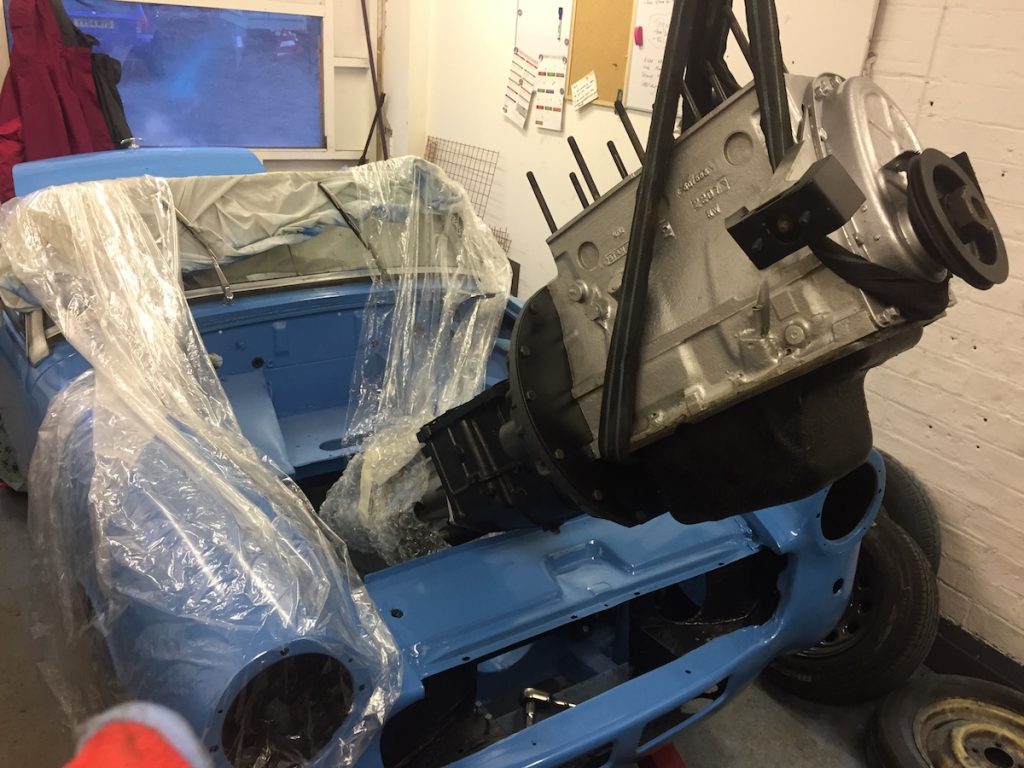
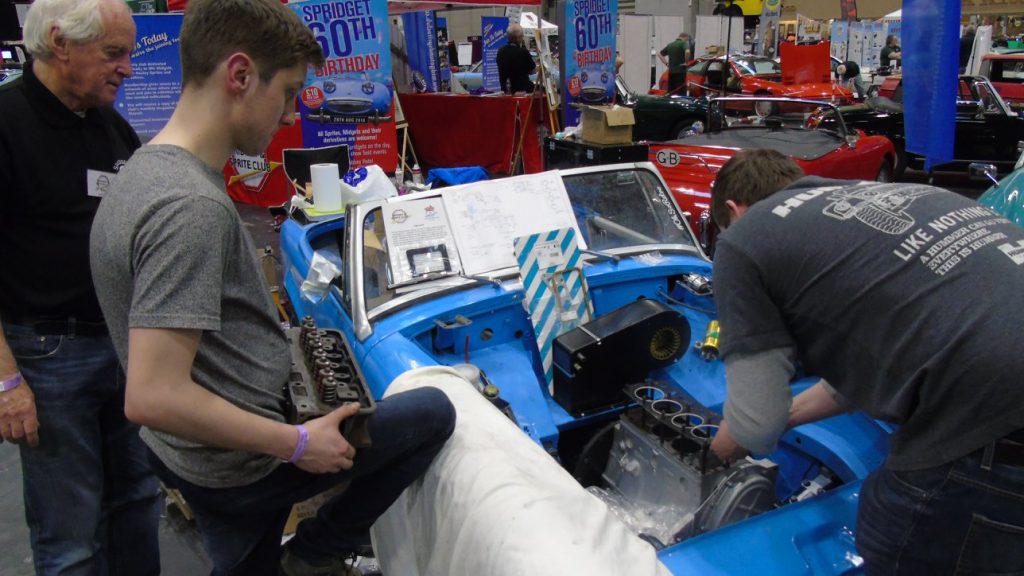
This last photo was taken at 6pm, with the car due at the NEC by ten! There’s another post due about the NEC Resto show, but whilst there we replaced the head studs, and bolted on the head – complete with valved lapped in at the show. We used an uprated Payen headgasket, which I think is worth every penny. Head torqued down, I left the NEC on Friday happy!
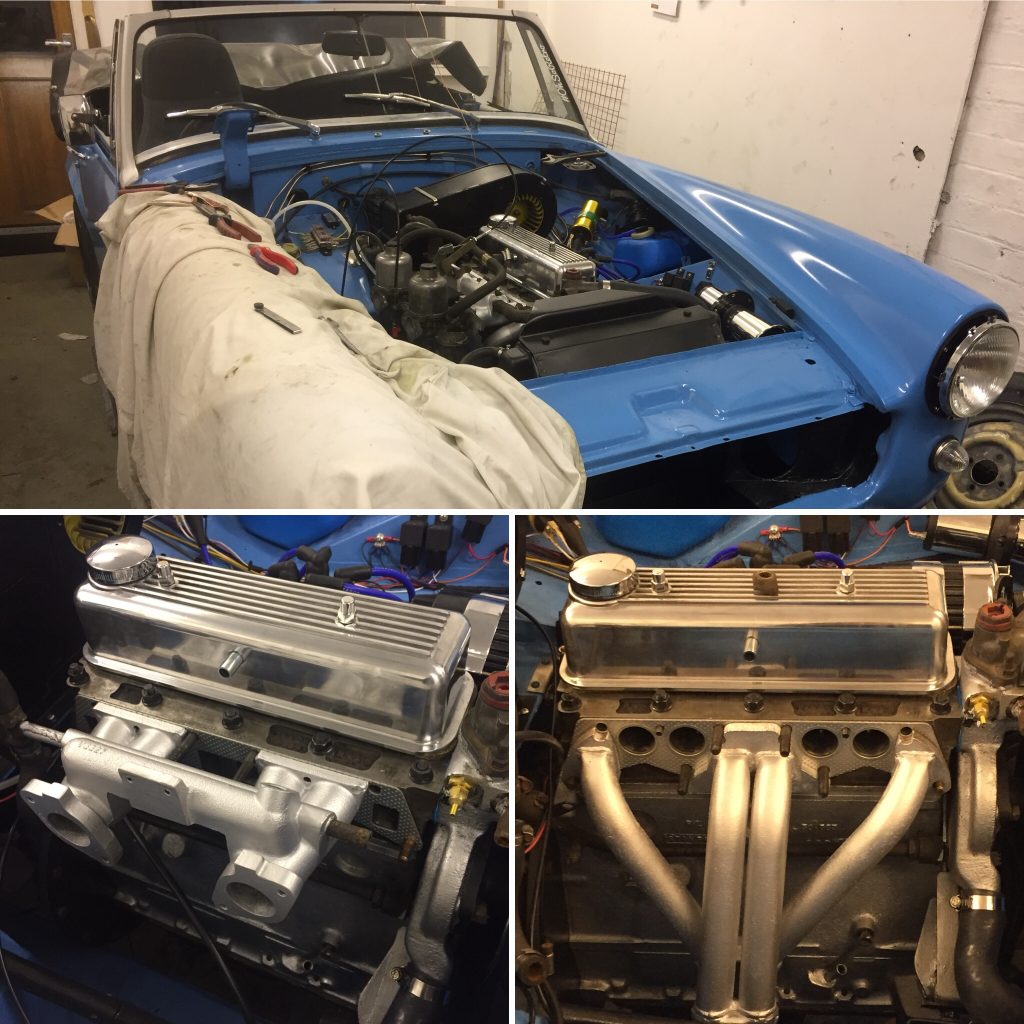
With the car back in her warm little Walsall garage, it was time to get the manifolds on, followed by the recently rebuilt carbs. A bit of fettling with a finger belt sander was required to get the new 4-2-1 exhaust manifold to fit around the standard inlet, but both panted in VHT silver they look smart.
A lot of time was then spent trying to get it running. I’d forgotten to set the valve clearances, so there was no compression! This was soon sorted with the rule of nine. Three naff starters were replaced, followed by a battery that was no good. The electronic dizzy was swapped out for a points and condenser original to get the timing bang on, but still no go.
Eventually, I was starting to get somewhere with the help of some starting fluid, but she still wasnt running more than a few fires. Then it clicked – I nipped off to BP to get a can of fresh fuel, and added some to the float chambers…
First turn of the key, and we were away.
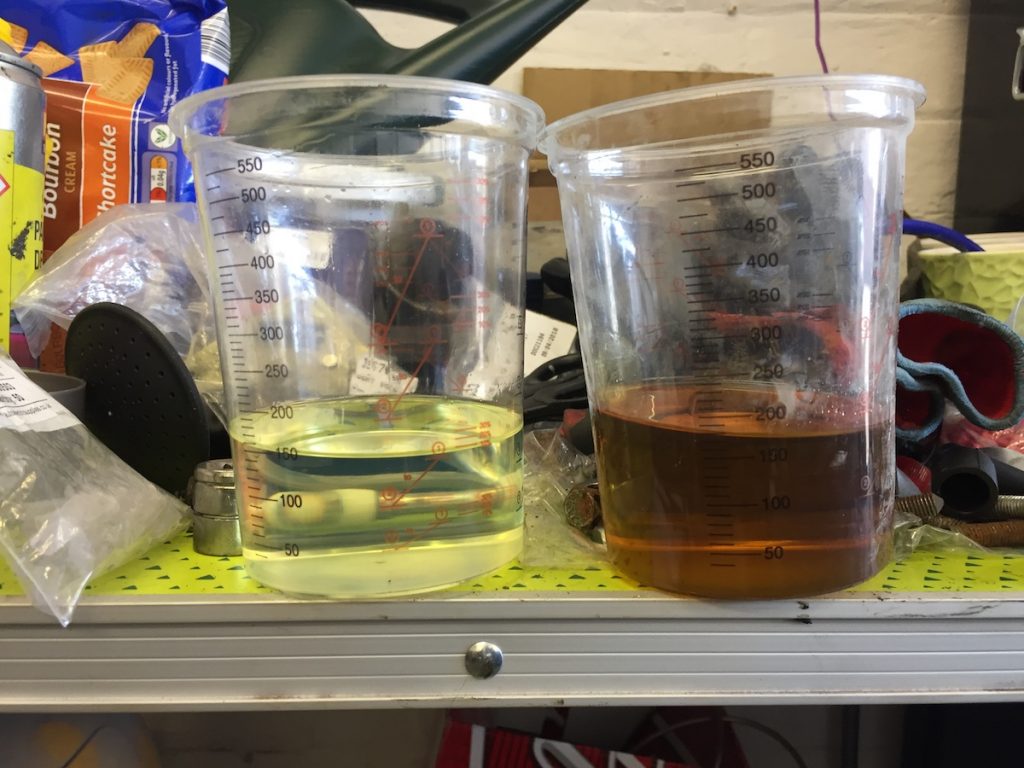
It’s easy to see where the problem did lie!
So now we’re running. There’s a few little tuning jobs left to do, and running in the new cam for twenty minutes before an oil change and trip to the MOT station!
this is great information