On The Road...Again!
This article originally appeared in MASCOT Magazine, October 2019
If you think I’m excited about having my engine rebuild complete, you should see how thrilled my lodger is that the block is no longer on the kitchen table!
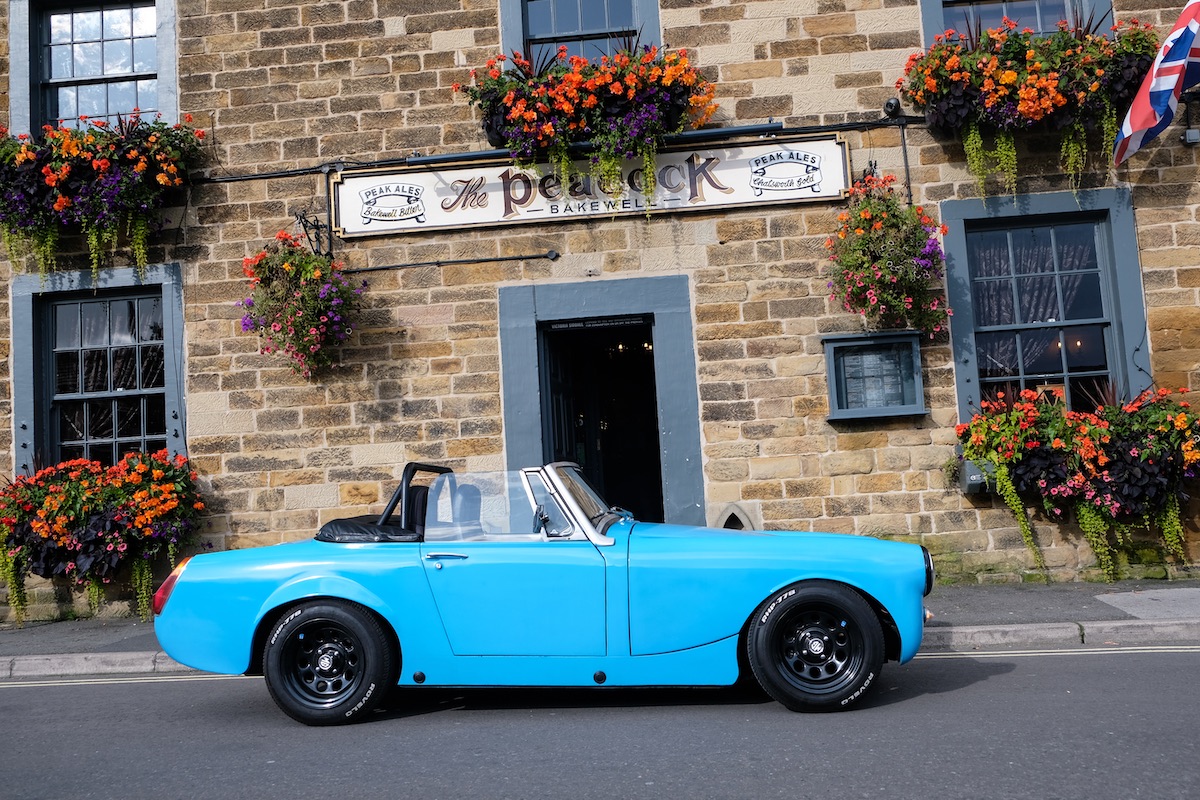
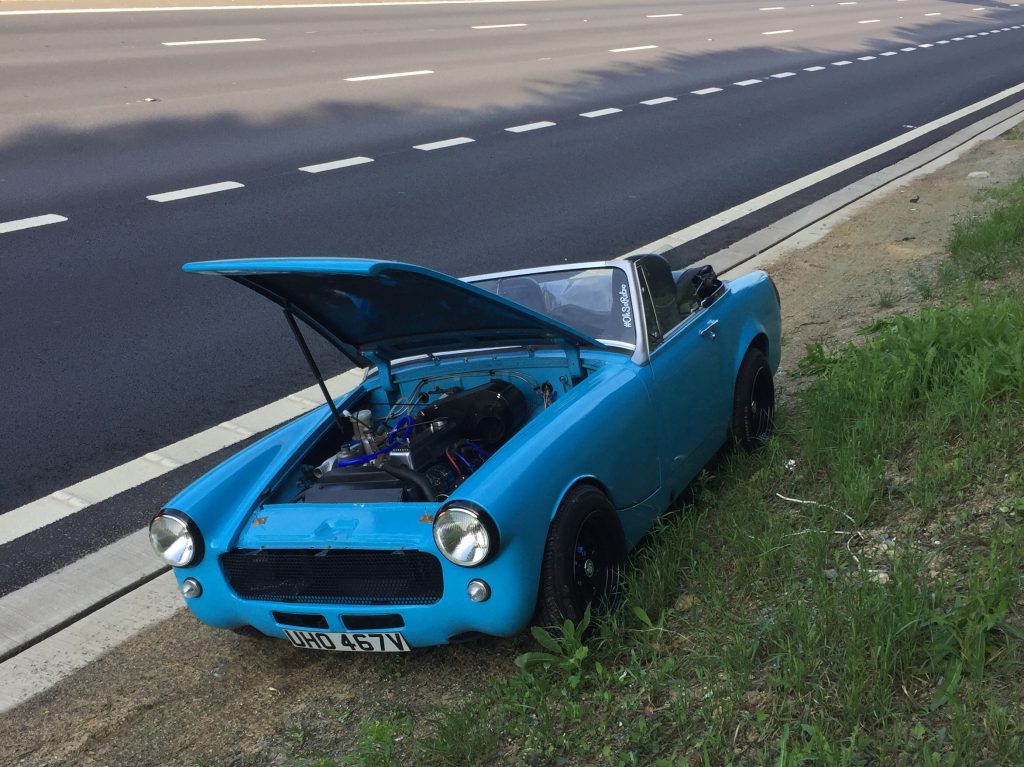
Rewind sixteen months, and I’m sitting by the side of the M1, watching Highways England tow my little blue 1979 Midget from lane one of the active motorway to the nearest roundabout. She was very broken – a seized cam, seized crank, snapped timing chain, and a lot of swarf in the sump. Basically, scrap, probably caused by an oiling problem – well known as the Achilles heel of the 1500.
The rebuild began – only marginally disrupted by moving house, changing jobs, having to give up my workshop…
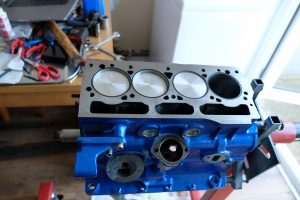
I realised that the block wasn’t much use, especially as I physically couldn’t remove the camshaft from the engine. Helpfully, I had a spare Triumph 1500 block sitting in the new garage – earmarked as the base for a coffee table. After an inspection, it was decided that I’d have this overbored to +010” and use it as a basis for the new engine.
Whilst the block was off at Cotterell Engineering in Clay Cross being machined, I set about acquiring components. New pistons, rings, all gaskets, oil pump and uprated oil pressure valve were sourced alongside an oil cooler, thermostatic sandwich plate and spin-on K&N filter in the Moss Motors 35% off Christmas sale – ho ho ho! A new camshaft was sourced from Canley Classics – the Spitfire 1300 profile ground onto a large-journal shaft as the 1500 block doesn’t use cam bearings. This profile gives a mild increase in power and torque and is perfectly suited to all road going engines. You allegedly get the best of both worlds – better ‘driveability’ with no real loss in fuel consumption.
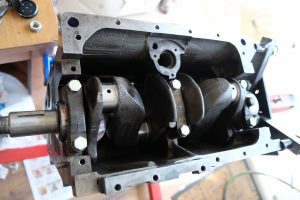
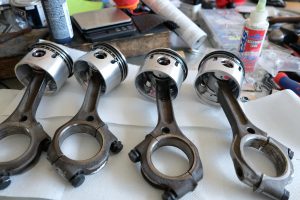
The crank required some machining after the oil loss incident, and so it was sent to Woolmer Classic Engineering in Bedford along with the clutch, flywheel and front pulleys. Rich arranged the crank grind and a full balance of the assembly, which was complemented by my own work balancing the pistons and rods back on my kitchen table…
After a lot of research into the best bearings to use, including a lengthy thread on the MASC Facebook group with thoughtful input from fellow 1500 owner Malcolm le Chevalier, I decided to go with tri-metal bearings supplied by King Bearings – principally on the advice of the machinist that did the grind on the crank journals.
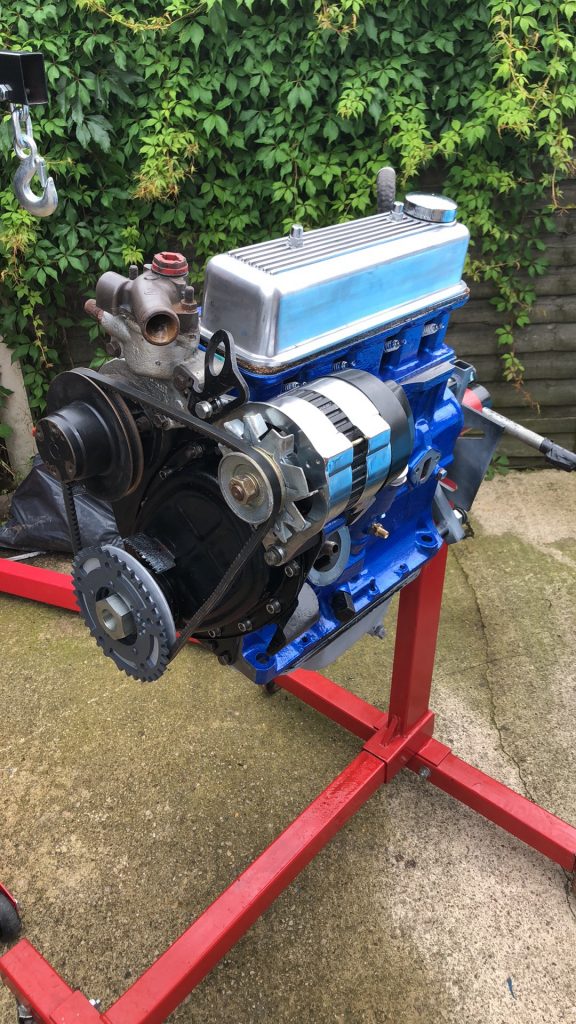
A quick strip down and inspection of the cylinder head revealed it was in fine condition, although the rocker shaft was showing signs of wear. A shiny new shaft was sourced from David Manners in Oldbury, availing of their MASC discount. The head was re-assembled, and given a coat of heat-resistant Jazz Blue paint to match the block.
It was all getting rather exciting – I could start to smell petrol, feel the wind in my hair, hear the roar of the exhaust… unfortunately the engine was in about a thousand parts in my kitchen and the car was still sitting sad outside.
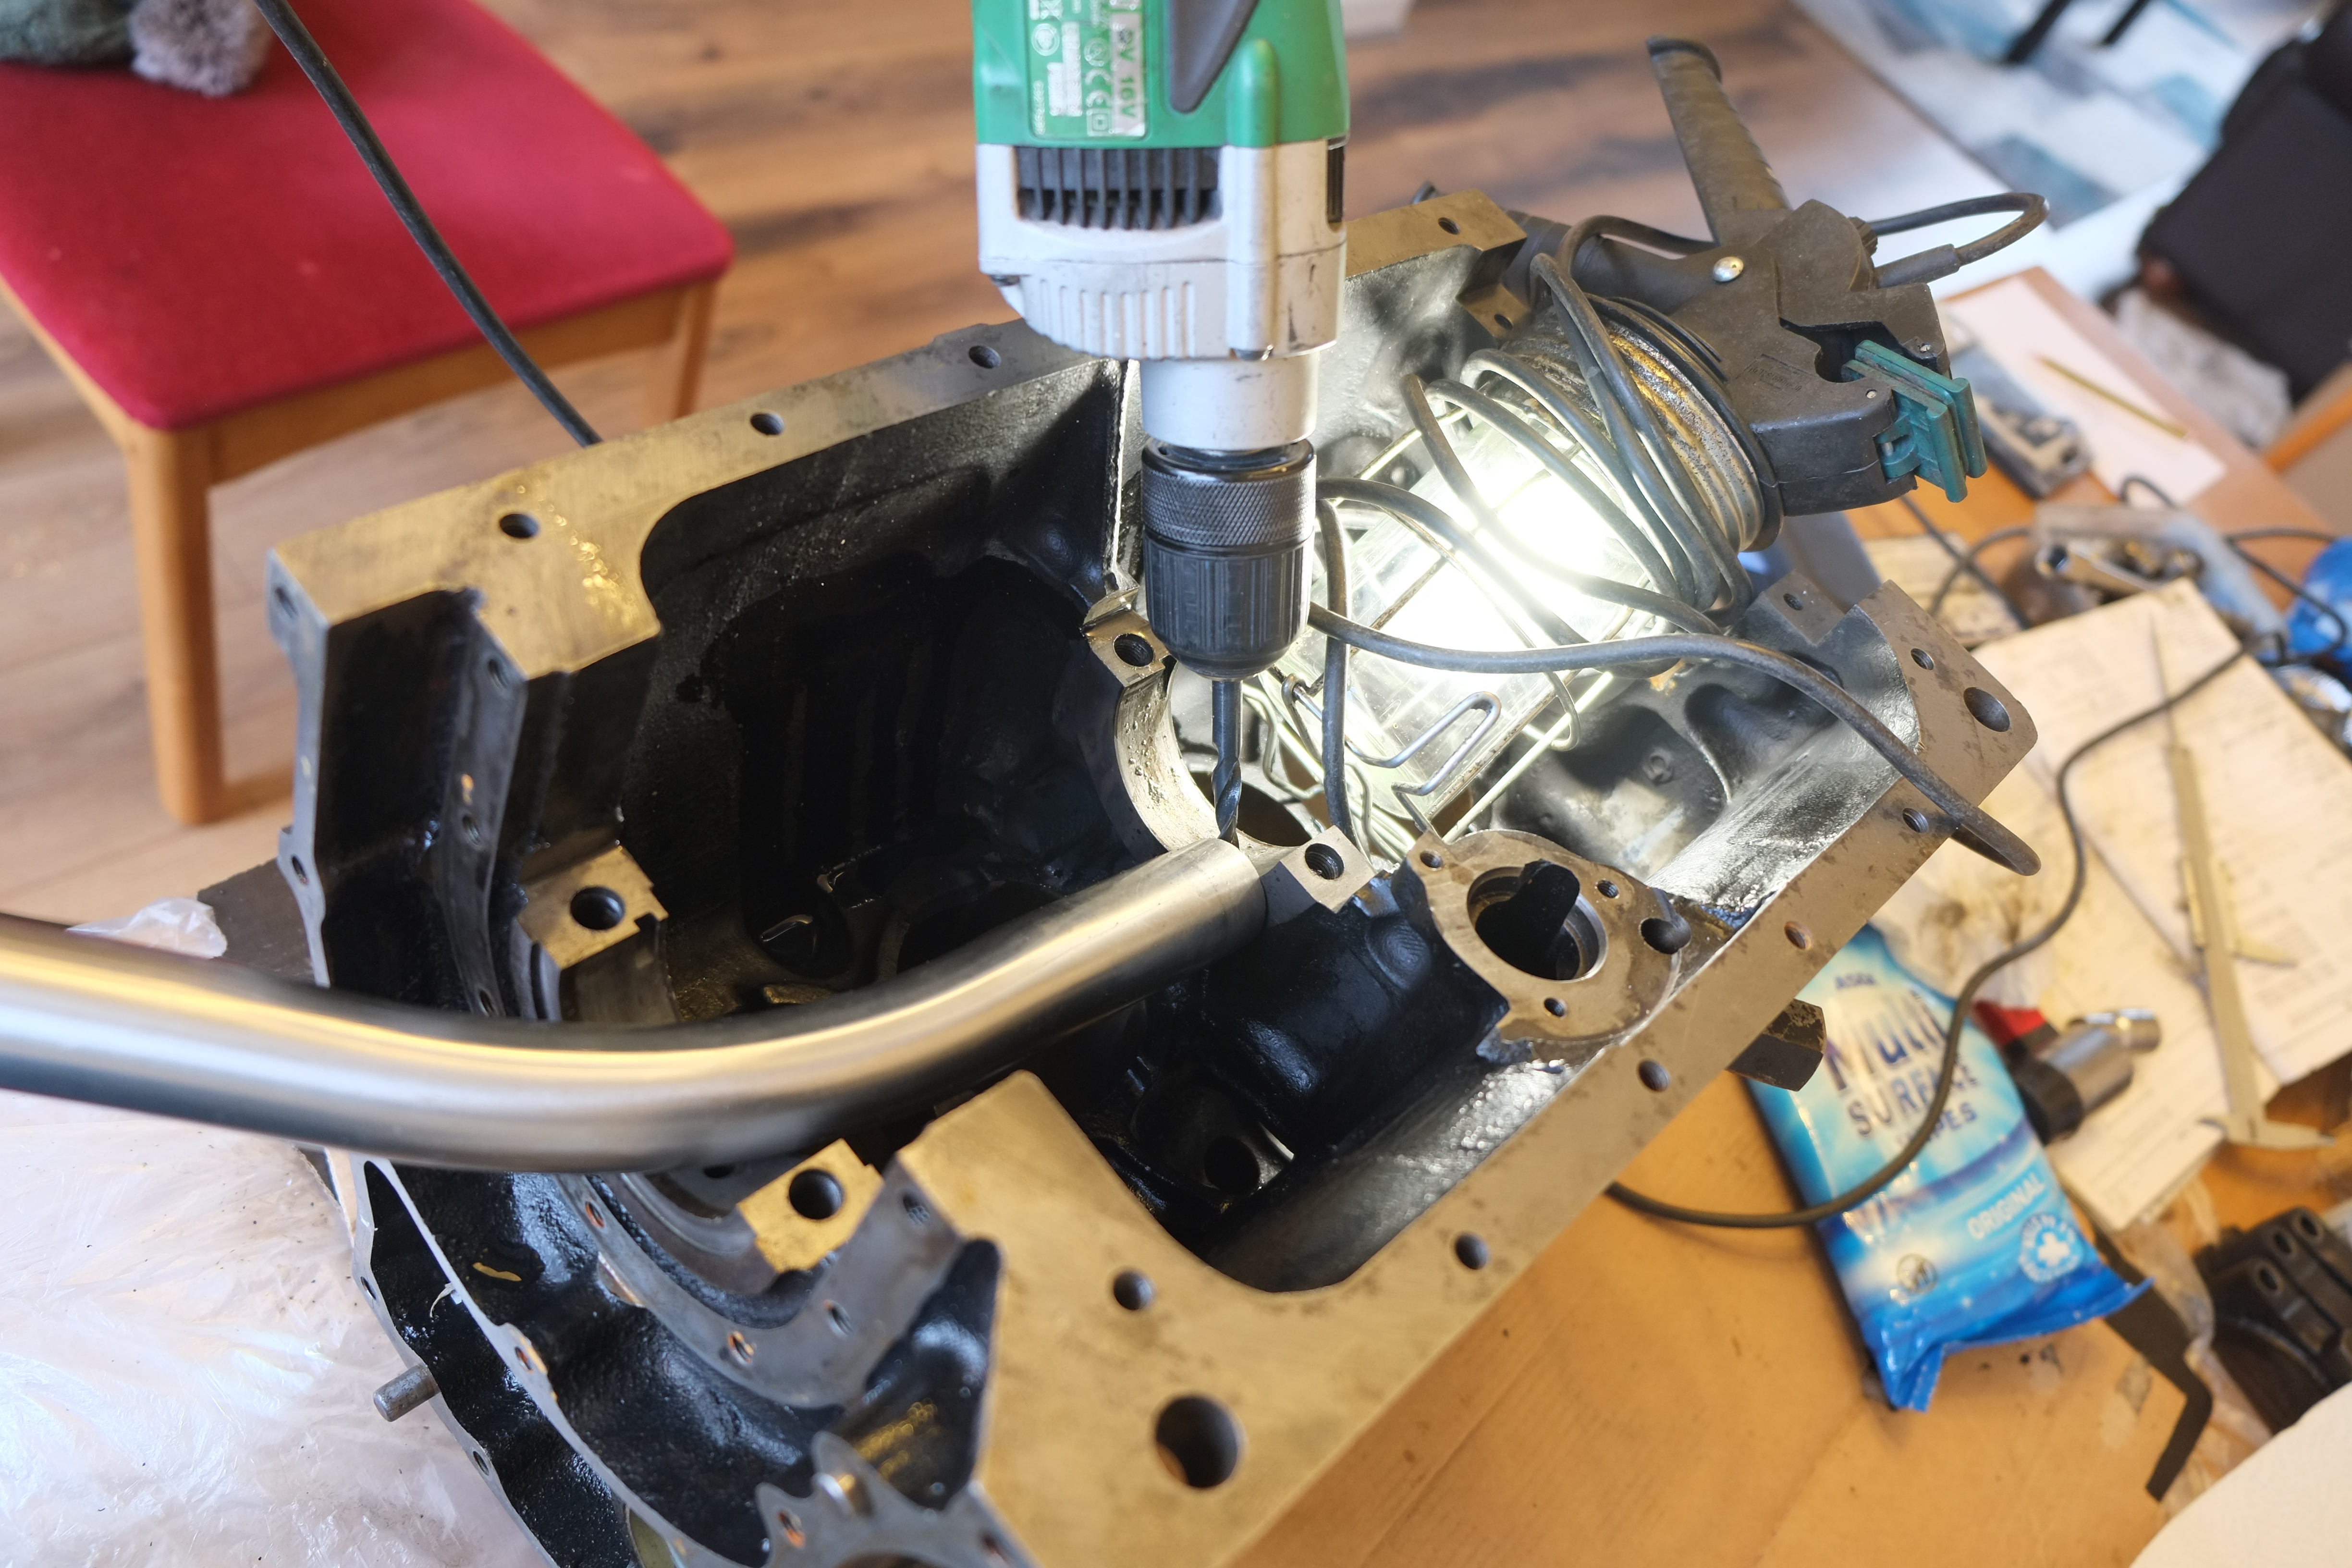
Not wishing to hang around, I set about cleaning everything thoroughly with a paraffin gun and pipe-cleaning bushes. I sneaked the engine stand into the kitchen whilst my lodger was at work, and started re-assembly. The workshop manual was followed religiously, with all tolerances and tightnesses being treble checked to ensure everything was within range – and it all came together perfectly. Copious amounts of jam-like assembly lube were used on all moving components, and a smear of sealant was used on water-tight flanges around the core plugs and water pump.
After a quick YouTube refresher on how to time the cam, the new duplex timing chain was fitted and front end of the engine sealed up, followed by the rear crank seal, backplate and sump being bolted on, and the cylinder head torqued down on uprated ARP studs. A new friction plate for the clutch was sourced and aligned, tightened down, and the engine craned into the empty bay.


A bit of a wiggle, and twenty minutes of up and down of the gearbox jack and home-made load leveller, and the engine slid smoothly onto the first-motion shaft. Bolting up then took place with the help of my pit for access underneath the lowered car, with metric M10 nylocs being used to hold the starter in place as it’s tricky to get to, to make sure they’re done up properly – don’t ask me how I know!
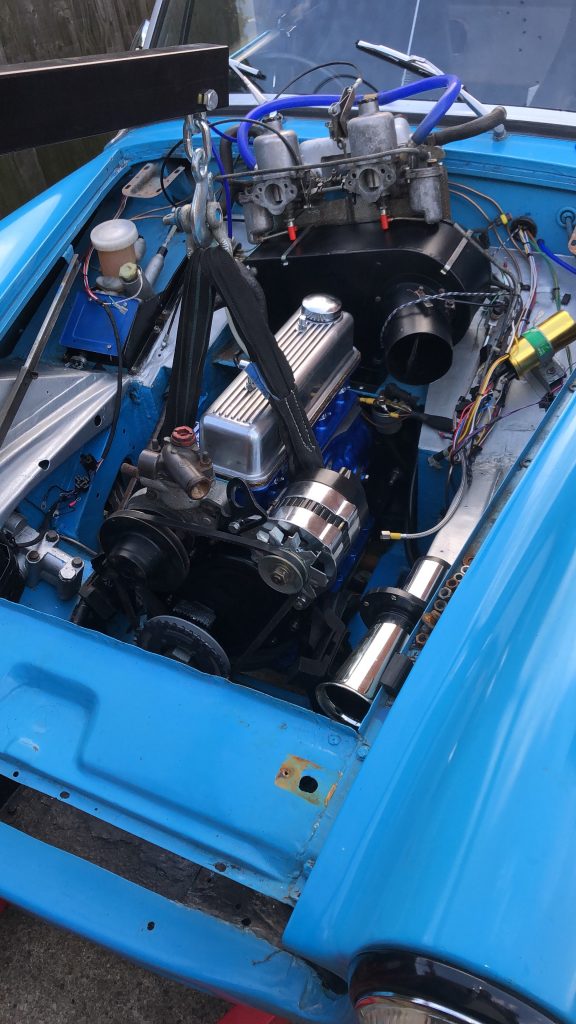
The standard HS4 twin carb setup was mated to the head, along with a 4-2-1 extractor exhaust system – which makes the two difficult lower nuts ever so slightly easier to access, although not by much! The pit was used again to connect the rest of the exhaust system, using motorbike exhaust clamps as a more reliable alternative to the U-bolt method – which tended to scrape on the road!
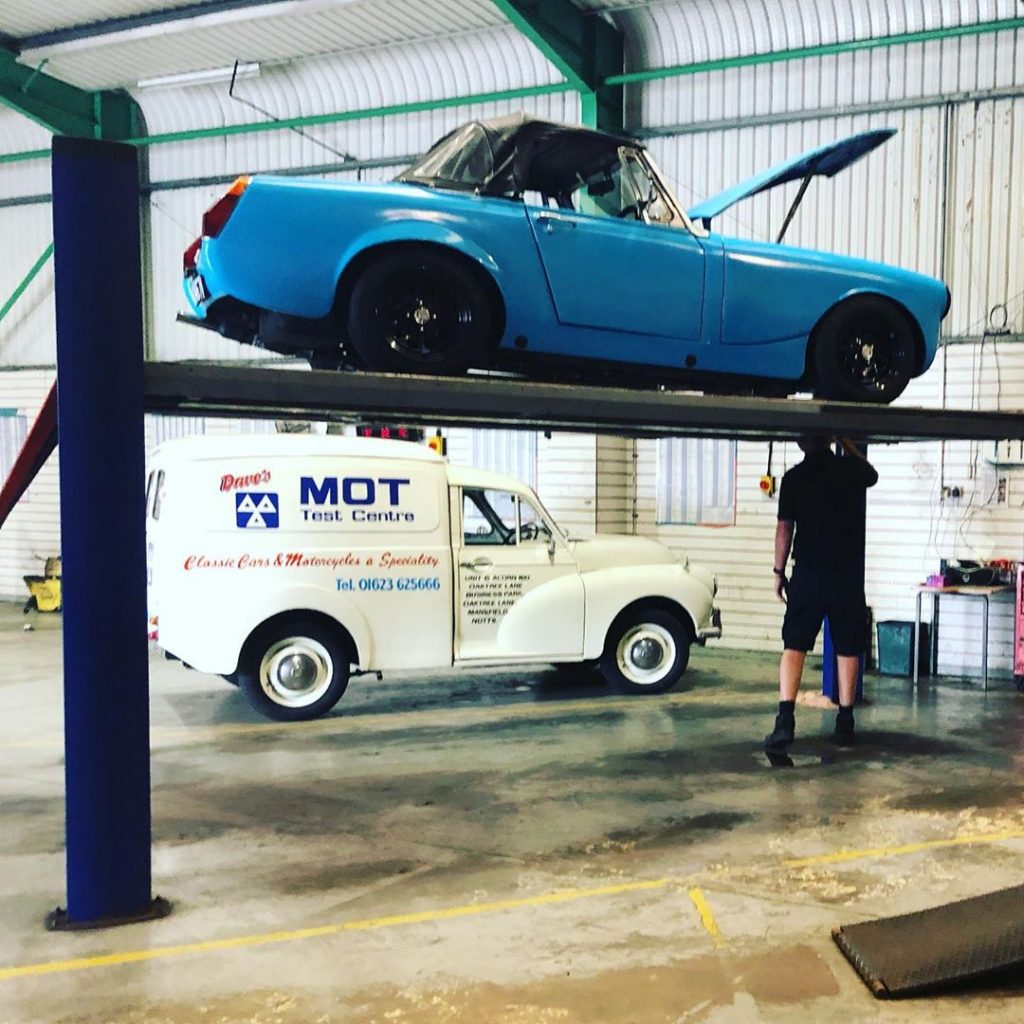
A fully charged battery was dropped in and after building up the oil pressure and double checking the timing, all the plumbing and all the electrics, she fired up! The Richard Woolmer Running-in Recipe was followed to the letter, passing an MOT with flying colours in the process
After the first oil change, the carbs were reset using the 12-flats method and balanced using a Gunson tool, and a few tweaks to the timing has her running a treat – although a trip to the Notts & Derby fish and chip night was swiftly curtailed after an oil pipe failure! No damage done, luckily, and two days later we completed a 150 mile round trip across the Peaks to Chester to the first car show I’ve managed to get to in two years!
Since then, the car has been used on sunny days as much as possible – including a trip with the missus to Matlock to make up for breaking down the week before! She is very happy to reside in a small garage by the side of the house when it’s raining (the car, not the missus). I’ve even bought a machine polisher and took an online course in “detailing” – and the spray-can paint job now looks better than ever!